Hipped roof: advantages and difficulties of construction
 When deciding on the type of roof, most owners of private houses focus on saving costs during its construction. However, supporters of durability and reliability understand that the best option for a residential building would be a four-pitched roof. It provides uniform heating of the entire area, is a reliable protection against precipitation and attracts with a non-standard appearance. Only professionals can build a hipped roof.
Types of hip roofs
The absence of tongs and gables is the main difference between the hipped roof. Depending on the design features, there are 3 types of roofs:
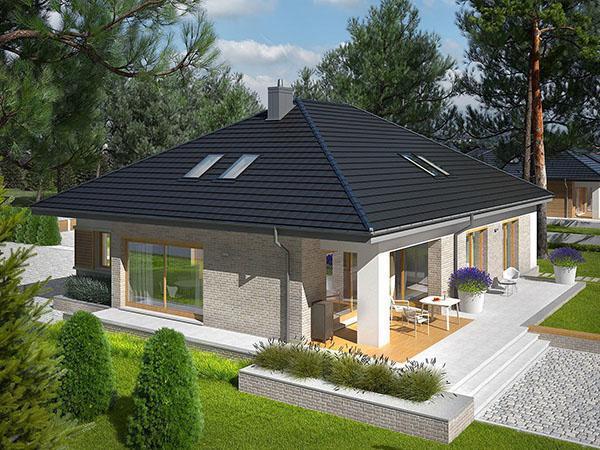
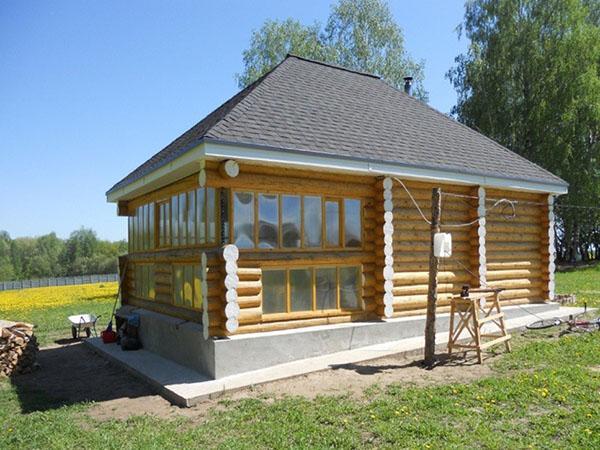
- Hip - resembles a pyramid in its appearance, in which the slopes, presented in the form of isosceles triangles, come out from one point. The device of the hipped hipped roof is only suitable for square buildings.

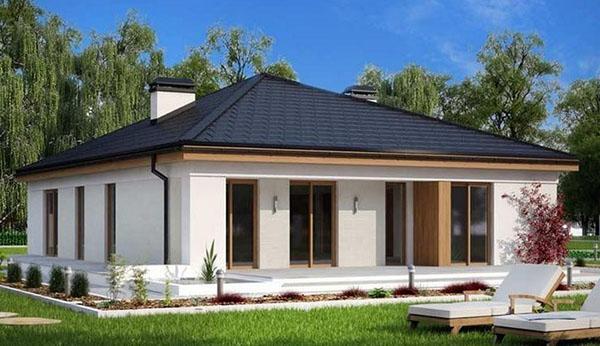
- Hip - consists of two trapezoids, converging in the ridge, and two hips (triangular slopes), adjacent to the extreme points of the ridge beam. Erected on rectangular buildings.

- Semi-hip - a roof with a living under-roof space due to cut gables.

Regardless of the type of roof chosen, a lot of difficulties arise when building a rafter frame.
How to make a 4 pitched roof: work algorithm

Installation of a hip roof consists of the following steps:
- Calculation of the materials required for the rafter frame, steam, heat and waterproofing, as well as the final external coating.
- Collection of all tools used in roof construction.
- Preparation of wood for the rafter system: sawing the boards and processing them with various antiseptic and fire-fighting agents.
- Installation of the frame.
- Installation of steam, heat and waterproofing layers.
- Installation of roofing.
- Final work related to the installation of additional elements.

An important point is the installation of ventilation devices, which are necessary to maintain a healthy microclimate in the house.
Hip roof angle

Several factors affect the value of this parameter:
- snow and wind load;
- type of roofing material;
- the aesthetic appearance of the building.
Accordingly, if there is an excessive amount of precipitation in winter, the angle of inclination of the slopes should be maximum. In a windy area, it is better to lower the hip roof ridge. In addition, the calculations should take into account the maximum and minimum value of the angle of inclination of the roofing material itself, at which its functions and properties will not be violated. For example, for slate, the recommended value is 15-65 °. Violation of these boundaries may be fraught with moisture leakage into the joints between the sheets of roofing material.
If we take into account practicality, then when using attic as a living space, it is worth calculating the optimal ceiling height. Its value can fluctuate within the aisles of 1.9-2.1 m. But it is more economical to build roofs with a minimum angle of inclination, since less material is consumed on them.
From the aesthetic point of view, roofs are presentable, the height of which is ½ of the height of the first floor.
Calculation of the rafter system of the hip roof

In the world of innovative technology, it is possible to calculate the material for the hip roof online.You just need to know the following parameters:
- base length;
- base width;
- roof slope;
- the length of the end overhangs;
- the length of the side overhangs;
- rafter step.
 The calculation result can be influenced by such values as wind and snow load, grade of wood, height to the ridge of the building and others. In general, online tools today make it possible, without special engineering knowledge, to provide an approximate amount of material required for building a hip roof and, accordingly, financial costs. However, only professionals can and should make calculations.
It is better that experienced specialists work on the creation of the hip roof project. Since minor errors in calculations have a significant effect on the reliability and durability of the roof.
Installation of the rafter system of a classic hip roof
 Since square buildings are much smaller in comparison with rectangular ones, hipped roofs are more often erected of the classical type. The material for the roof rafters should only be made of good quality dried wood. The whole construction process can be divided into several stages.
Overlapping
 When erecting walls and pouring an armored belt, experts provide a kind of niche around the entire perimeter for the support beams of the floor. It is on them that the ceiling beams are laid. A couple of layers of waterproofing must be fixed between the tree and the wall.
If the niche was not provided by the builders, the floor beams are mounted directly on the Mauerlat, the installation of which is described below. The step between the boards is selected depending on the parameters of the insulation. To ensure the rigidity of the floor between the beams, wooden lintels are fixed with nails.
Driving nails into the wood should be slightly at an angle, otherwise the lumber may crack.
Mauerlat laying
 Work on the installation of a wooden frame begins with the installation of a Mauerlat - a bar of significant section (100x100, 100x150), which is fixed around the entire perimeter of the structure. The joints along the length of individual sections are overlapped, as shown in the picture.
The beam is laid on a layer of waterproofing, most often - roofing material.
If the walls of the building are made of brick or aerated concrete, for the installation of the Mauerlat, a reinforced concrete belt is preliminarily poured into which metal studs are inserted in advance with a step of 10-12 cm for further installation of the timber.
The diameter of the fasteners should be approximately 1 cm. Their length is calculated taking into account the section of the tree.
Installation of vertical posts and ridge girders
 One of the most important points in building a rafter frame is setting the girder. It should be located strictly in the middle of the building. To do this, experts beat off the diagonals with a thread, measure the distances from the walls to the run several times.
 Supports for the ridge girder are installed with an approximate pitch of 3-4 m, depending on the length of the building. To maintain their vertical position, temporary struts are mounted. Fastening of vertical posts to a horizontal beam is carried out with a straight joint or a straight cut. The correctness of the installation of the girder is verified using the building level.
Fixing side sloped elements
Before proceeding with the installation of the side rafters, the places of their fixation are marked on the ridge beam. As a rule, the placement step is 50 to 150 cm. The fastening of their upper ends is no different from what is used when building a gable roof. Rafters are cut at an angle of 450 and dock on the edges of the ridge beam. All formed upper nodes of the rafter system of the hip roof are fixed with nails and reinforced with a metal or wooden plate.
The lower ends of the side legs can be mounted in two ways, shown in the figure below.
The first scheme for supporting the rafters on the Mauerlat is used if the hipped roof has an outlet.As a rule, such overhangs require growing the rafter boards with additional lumber. The tree of the required length is fixed to the lower ends of the rafters with the help of nails.
For wooden, frame or lightweight concrete buildings (those for which spacer loads are contraindicated), a system with sliding frame elements is used. Fasteners in this case are represented by two metal components. The first part of the fixing unit is mounted on the Mauerlat, the second on the rafters. They are connected to each other using a long slot.
Sliding fasteners are also recommended for fastening the rafters to the ridge beam. Thus, it is possible to avoid deformation processes of the roof during house shrinkage or seasonal wall movements.
Installation of diagonal rafters
 Hinged rafters for a hipped roof carry the main load. Therefore, they are especially attentive to their installation. To ensure reliability, the diagonal supports are paired from two boards. This method is also relevant when it is necessary to lengthen the frame element. After all, the standard length of lumber (no more than 6 m) is often insufficient. In addition, the double rafter leg withstands the same load as a bar of an equivalent section.
The spliced diagonal rafters of the hip roof are additionally secured with struts and trusses. The last structural element is a connection of a beam and a rack perpendicular to it, which is supported by slopes on both sides.
The unit for supporting the diagonal legs on the ridge girder
 Corner rafters are attached to the girder with their upper ends, forming a kind of knot. The complexity of its formation is influenced by the number of ridge beams. The consoles protrude 15 cm forward relative to the rafter frame, if the project provides for one run.
Diagonal legs are trimmed at a specific angle and connected to the console, securing with nails. The knot is secured by an additional metal or wooden lining, which is also called a lug.
If the under-roof space is planned to be used for living quarters, they provide for the installation of two runs. Then, at the ends of the ridge beams, a truss (in the case of spliced diagonal legs) or a wooden bar (if the diagonal rafters are represented by a bar), at least 5 cm thick, are fixed.
The lower ends of the diagonal legs are mounted to the Mauerlat. In this case, nails and clamps are used as fasteners. The rafter is also sometimes additionally secured with a corner bar, as shown in the figure below.
Securing missing items
The shortened rafters or half-legs of the side slopes and hips are mounted to the diagonal legs in a checkerboard pattern. In most cases, pre-cut boards are secured with 2 nails on both sides. But the load-bearing capacity of the unit can be increased more by another method of fastening.
One of these methods is the use of bar segments (see the picture above). They are fixed between the shortened rafters along the lower edge of the board. As a result, the rafters become I-beams, which significantly increases the indicators of its bearing capacity.
Final work on the rafter frame and hipped roof
 The last stage in the assembly of the frame is the installation of struts and stretch marks. The first are wooden beams that are installed at an angle of 45 0 between the bed and the side rafters. The second - connect the frame elements together to make the structure more rigid.
After the rafter system is assembled, proceed to the installation of steam, heat and waterproofing, lathing, as well as the roofing material itself.
To consolidate the above material, you can watch the video.