Sturdy and beautiful DIY bunk bed

The issue of optimizing space in the nursery often baffles most parents. A bunk bed with your own hands will be an excellent way out. Such furniture will not only please any child, will increase the free area in the room, but will also make it possible to translate into reality the most extraordinary author's idea - to create a unique bed that fits perfectly into the interior at no extra cost.

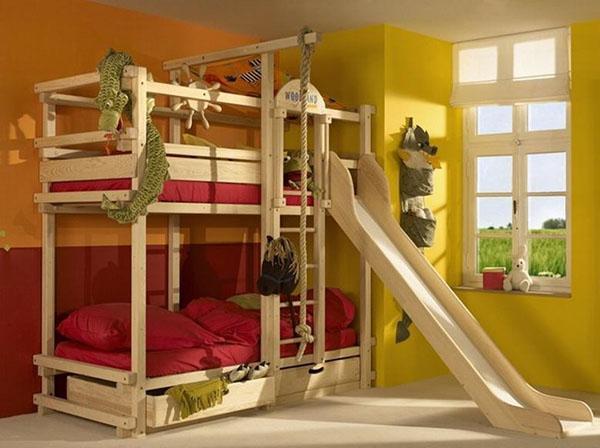
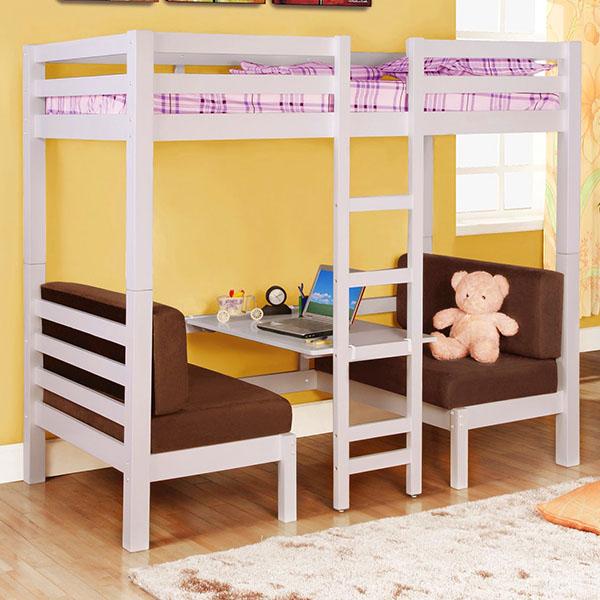
Bunk beds for children are not only original, beautiful, but also comfortable. They can be combined with storage spaces, equipped with spacious drawers, corner or built-in lockers, a play or work area - equipped with a table, seats, all kinds of ladders, slides.
Diy bunk bed - choose materials

You can make a children's bunk bed with your own hands from almost any material. The most durable furniture will be made of metal. However, the creation of such a bed will require not only a fairly large investment of funds, but also certain skills, as well as the availability of special equipment.
Optimal materials are:
- Array. It attracts not only with its beauty, but also with its durability. Very strong and reliable structures are obtained from it. Among the disadvantages are the price and the complexity of processing.
- Fiberboard or MDF. It has an attractive appearance, relatively low price, practical and durable.
- Furniture board. Beautiful and durable material. Suitable for all construction details. Allows you to create products with original author's carving.
- Particle board (chipboard). For the manufacture of children's furniture, it is permissible to use only E1 class plates. The material is suitable for creating non-stressed parts - decorative panels, backs, drawers, since it does not hold the screws well.
- Edged or planed board. Easy to use, durable, able to support heavy weight. The indisputable advantage of the material is its environmental friendliness, as well as its affordable cost. Particular attention should be paid to the quality of the boards. They must be well dried. Otherwise, the structure may be severely deformed.
Design features
Before starting the manufacturing process, you need to decide on the size and design. Create a do-it-yourself bunk bed project. This will help not only to calculate the amount of required materials, but also to organically fit the furniture into the room. Avoid potential mistakes and unnecessary additional waste of time and money to eliminate deficiencies. At the planning stage, take into account all the nuances.
There are many types of bunk beds for children. The most convenient and popular:
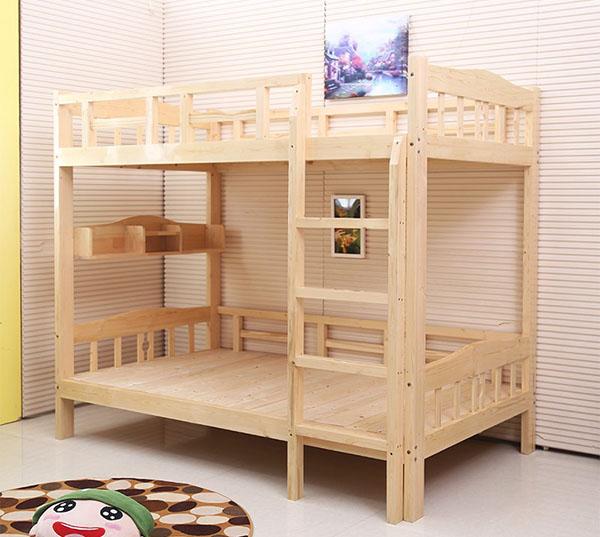
- Traditional. A bed in which "tiers" - sleeping places are located one above the other.

- With drawers. This model provides for the presence of not only two independent sleeping areas, but also additional storage space.

- With a sofa. A very comfortable and functional model. Allows you to equip not only a sleeping place, but also an area for daily rest. Differs in aesthetics and attractiveness. Ideal for small apartments.

- Loft bed. Not only beautiful, but also very practical option.Allows you to use the space under the bed for arranging a work or play area, build in a wardrobe or a sports corner.

- Roll-out. The transforming bed allows you to hide the lower berth, if necessary.


Designs differ in the location of sleeping places. Recreation areas can be:
- one above the other;
- have an angular arrangement;
- be located along one wall with a shift to the side, etc.
Bumpers and stairs
The ladder and sides are another important point that must be taken into account when drawing up a drawing of a bunk bed with dimensions. Because it is these details that will play a decisive role in ensuring the safety of the child.
The optimal size of the sides for a baby bed is considered to be a height of 30 to 60 cm. The smaller the baby, the higher the "protection" should be.
Do not neglect the sides even when equipping a sleeping place for teenagers. It will help protect the child from accidentally falling while sleeping.
As for the construction of stairs, they can be of the following types:
- Vertical flat staircase. One of the most standard options.
Takes up little space, mounts directly to the base of the bed, acting as a protective side for the lower tier. The main disadvantage of this type of staircase is the absence of a handrail, which makes it unsafe for children under 5-6 years of age.

- Forward curved or flat inclined staircase. Suitable for children of all ages, safer option. Among the disadvantages - it takes up much more space.

- Ladder with steps, under which a wardrobe or drawers are mounted. Very convenient and comfortable construction. Provides not only safety during descent and ascent, but also additional storage space. But it should be borne in mind that the length of such a bed will be at least 2.4 m and it will not be easy to fit it harmoniously in a small room.

Overall dimensions
The question of how big the bed is to make is very individual. You can make furniture for a child's height or immediately design an adult model for growth.
The basic rules that should be followed when designing a bunk bed:
- In width, the structure should be roomy enough and correspond to the standard size of the mattress. The optimal size is considered from 80 to 100 cm.
- The height of a bunk children's bed should be approximately 1800-2000 cm. When deciding on this value, it is worth considering not only the height of the ceiling in the nursery, but also the distance between the upper and lower tiers necessary for comfortable use of the structure. Do not make a bunk bed with your own hands too high, otherwise it will be very stuffy and uncomfortable to sleep upstairs.
- The recommended length of the berth is from 1900 to 2000. It is ideal for standard mattress sizes and will allow even a tall teenager to fit in without discomfort.
Bunk bed drawings with dimensions
If you do not plan to create an extraordinary author's bunk bed with your own hands, then when drawing up a furniture project, you can use the standard drawings presented below.


Diy bunk bed assembly diagram
When all calculations, selection and preparation of materials are completed, you can start making the bed.
As an example, the process of assembling an attic bed with a berth size of 1900x110 cm will be considered
The work will require the following materials:
| Materials | Quantity (pcs.) | Dimensions (mm) |
| Beams | 2 | 50x50x2500 |
| Boards | 1 | 25x50x2500 |
| Boards | 4 | 50x150x2500 |
| Boards | 13 | 120x25x1000 |
| Boards | 14 | 50x100x2500 |
In order to ultimately make a hand-made bunk bed not only strong and durable, but also have an aesthetic attractive appearance, it is necessary to pay special attention to both the quality of the materials chosen and the accuracy of manufacturing the parts, and the accuracy of their processing.
To assemble a children's loft bed, you will need tools:
- sandpaper or sander;
- electric screwdriver;
- wood primer, paint or varnish;
- dowels;
- joiner's glue;
- metal corners.

Installation process:
- The assembly of the bed begins with the manufacture of the end sides. To do this, it is necessary to connect the transverse boards with the uprights with dowels using glue and self-tapping screws.
- Next, bars with dividing parts are glued to the tsars. Additionally, they are fixed with self-tapping screws.
- The end elements are fastened with boards for fencing and drawers. The structure is assembled using dowels, bolts or self-tapping screws.
- Lamellas are laid on the timber.
- Collect the supporting frame-rack for the landing and attach the frame to it.
- Connect the main frame of the bed with the ladder structure using metal corners.
- The upper part of the ladder frame is covered with boards.
- Assemble the stairs.


After the installation of all structures, putty is made (all points of fastening of self-tapping screws are sealed with a special putty on wood) and, if necessary, additional grinding and painting of the product is performed.