How to plant gloxinia: choosing a pot and soil
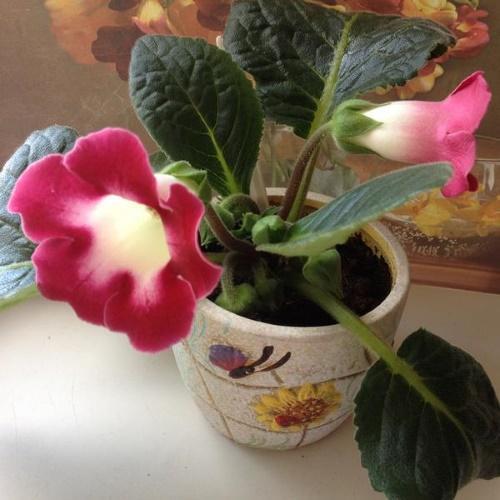
 Shaggy green leaves, over which from spring to autumn rise large flowers in the form of bells of the most varied colors ... This is the beauty of gloxinia, one of the most beautiful indoor plants. Florists love her for its abundant and long flowering, and also for easy care, in which a competent planting is of no small importance. Not only flowering, but also the general development of the bush depends on whether the flower is so “comfortable” in the pot, whether it suits it, and what soil is used. How to plant gloxinia so that the tuber actively grows green mass and annually pleases with large buds?
To begin with, you must understand that the root system gloxinia presented in the form of a tuber, which has a pronounced dormant period. During the winter months, the plant rests by shedding foliage. At this time, the tuber is either dug up and stored in sawdust, or left to rest in a pot, transferring it to a cool room.
At the end of winter, when the tuber begins to wake up from hibernation, it is time to plant or transplant gloxinia. You should not delay the process - this will negatively affect the development of the flower.
On this topic:gloxinia - home care in winter!
Choosing a flowerpot for gloxinia

When choosing a flowerpot, you should be guided by the following rule: its width should be no more than 4 cm wider than the tuber itself.
What kind of soil does a flower need?
 The main requirement for a substrate for gloxinia is that it allows water to pass well. Dense soil retains moisture and dries out for a long time. In it, the tuber can rot. But peat-based store-bought substrates are an excellent choice for gloxinia. You can also make a nutritious and light soil mixture at home by mixing:
- 1 share of deciduous land;
- the same amount of peat;
- 0.5 share of sand.
Tuber preparation for planting
 Often, after hibernation on the tuber, the roots partially dry out. Such material needs preliminary preparation, namely:
- All small dry roots are cut off.
- If there are rotting fragments on the tuber, they are cut out. Places of cuts are sprinkled with a mixture consisting of Kornevin and any fungicide. Then the tuber is dried for a day.
How to plant gloxinia correctly?
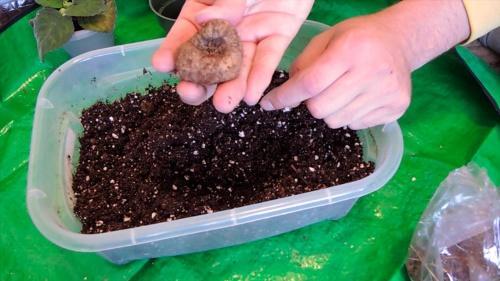
 Novice growers sometimes confuse which end to plant the tuber. Here you should take a close look at him. A small depression in the center is the top from which sprouts will appear in the future. But the bottom is presented in the form of a bulge (on the back of the recess). It is this that must go deep into the soil.
Having decided on the top, good drainage must be poured onto the bottom of the flowerpot - it will save gloxinia from decay. Pour the soil on top and dig a shallow hole in the center. Place the tuber there and cover with the substrate.
It should be noted that it is impossible to completely "bury" the tuber - the top must remain on top. The planted gloxinia is watered along the edge of the pot and placed in a warm and bright place.