How to properly apply liquid rubber - the subtleties of using one of the best sealants
 Liquid rubber is widely used in construction and not only for insulation and sealing of various surfaces. But in order for the protective coating to really turn out to be of high quality and to serve for a long time, it is important to know how to properly apply liquid rubber. Two points should be taken into account here: first of all, a thorough preparation of the treated surface and the appearance of the rubber itself. If everything is done properly, the protective layer will last a long time.
Surface preparation

If rubber is to be applied to a roll coating, it must not be cleaned with water so that it does not get under the substrate.
How to apply liquid rubber correctly
 After the working surface is cleaned, you can start treating it with rubber. This procedure is carried out in two stages:
- First, the first layer is applied, the so-called surface priming. It removes the finest dust particles and improves adhesion.
- Then the main layer is applied, and perpendicular to the first one.
The final layer thickness depends on the specific surface type. So, for metal structures on the roof 1 mm is enough, and for brick walls - 1.5 mm. But for a roof with a membrane surface or covered with concrete, you will need 3 and 2 mm, respectively.
Application features depending on the type of material
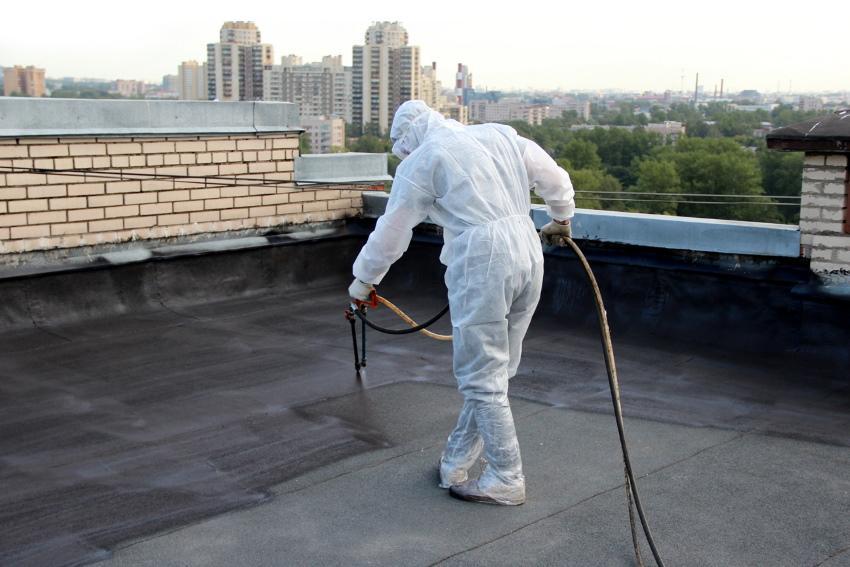
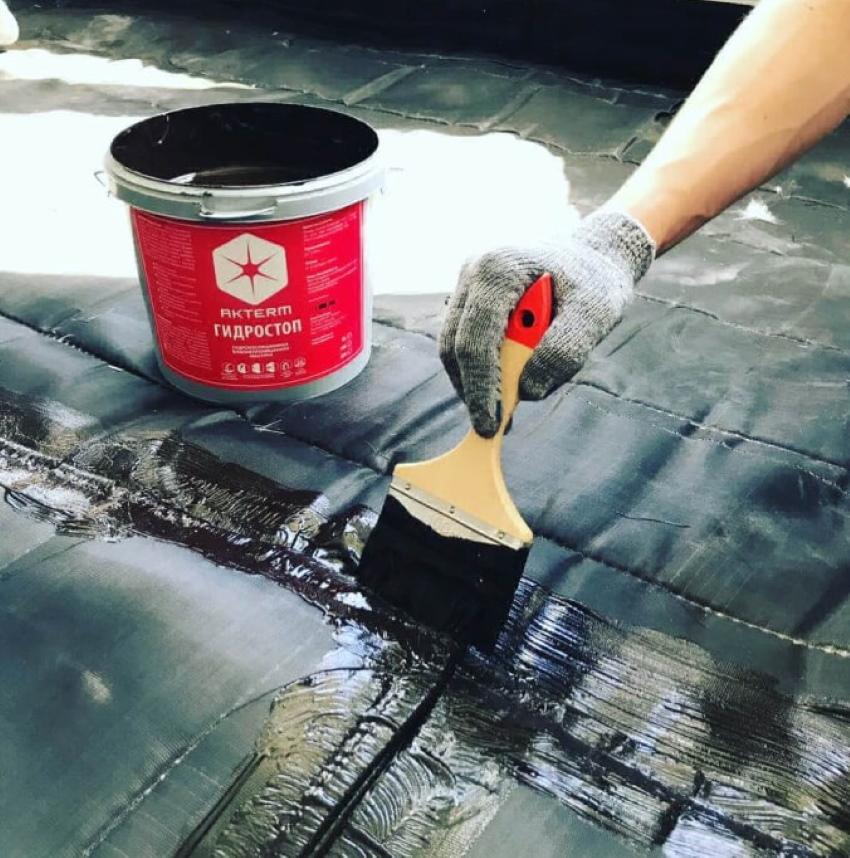
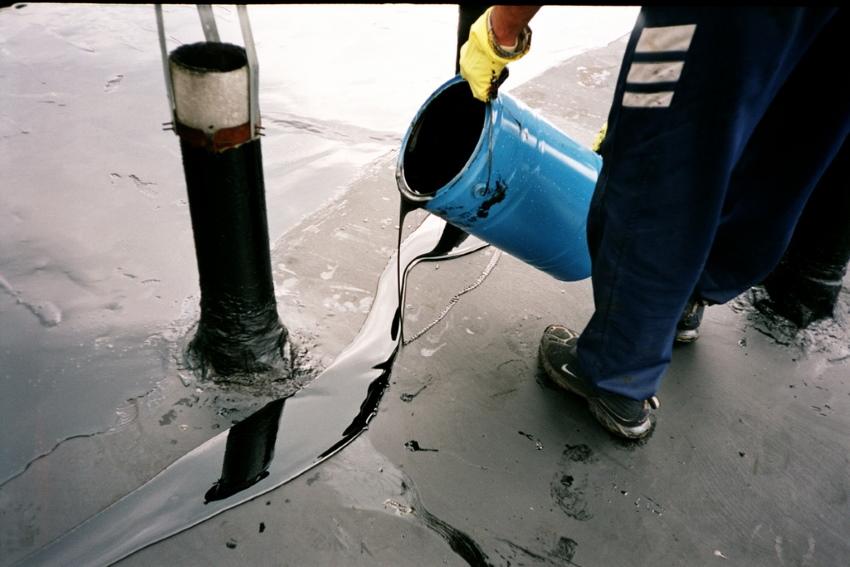
 As for the tools, it all depends on what kind of rubber is used. Spreading rubber is applied with a spatula, brush or brush. You need a spray gun to apply spray rubber. Bulk rubber is often used to seal the floor and is poured immediately after preparation.