How to lay paving slabs: step-by-step recommendations for self-taught craftsmen
 Concreting and laying asphalt in the yard area are gradually becoming a thing of the past, giving way to tiles. Its advantages are obvious, because such material is more environmentally friendly and durable, since it better tolerates the influence of weather conditions and temperatures. In addition, the tile costs an order of magnitude cheaper and there is a place for imagination to roam. You can choose any color and shape you like, and it will be easy even for a novice master to mount entire stained-glass windows. However, in order for the paths to serve for many years, it is important to follow the rules on how to lay paving slabs. Errors made at the stage of site preparation and laying not only affect the appearance of the coating, but can also reduce its service life.
So, the entire installation process can be divided into 3 stages:
- The choice of material depending on the purpose of use.
- Preparation of the site (base) for laying tiles.
- Directly laying the tiles.
- The finishing part is grouting.
Let's consider each item in detail.
Selection criteria for paving slabs

- for garden and pedestrian tracks thin tiles up to 4 mm thick are suitable;
- for facing the entrance in front of the house and a place for a passenger car, you need a thicker tile (5 mm);
- if a loaded truck will move around the site, a 6 mm thick tile is needed.
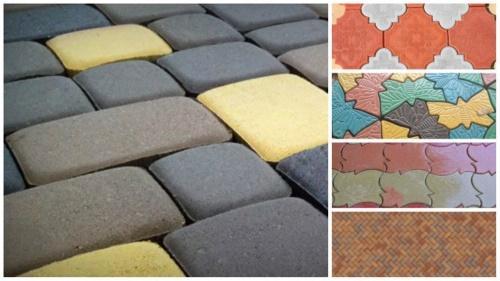
In private households, rectangular tiles (bricks) are most often used. It is easy to install and you can create any variation, especially in the color scheme.
Site preparation for laying
To keep the track strong and not creep, it is important to properly prepare the soil:
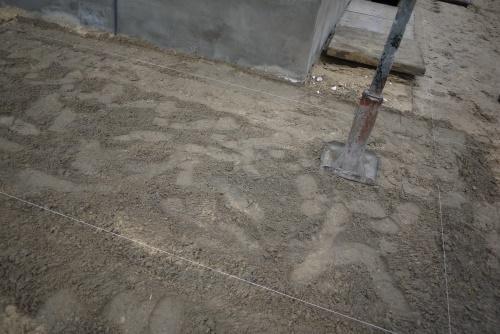
- first of all, outline future paths, evenly pulling the rope around the perimeter;

- remove the top layer with vegetation, choosing roots and stones, and tamp the bed;

- if desired, install and concrete curbs on both sides;

- level the base by filling in the bearing layer of rubble or gravel (up to 2 mm).
If you additionally spread geotextiles under the rubble, the path will not be washed out from below with water, moreover, grass will not sprout from the seams. Some craftsmen also cover the second layer of material on top of the gravel, before filling in the sand.
The very base for the tiles can be of three types:
- Sandy. A leveling layer of sand with a thickness of at least 30 mm is poured onto crushed stone or gravel. It must be moistened from a spray bottle, allowed to dry a little and leveled by tamping.

- Cement and sand. They are laid in layers: gravel, sand, reinforcing mesh (or without it), cement-sand mixture (4: 1).

- Concrete. In areas with weak soil, the bottom of the bed is poured with a concrete screed. But, although it strengthens the base, at the same time it retains water.In winter, in frosts, such a path can be deformed.

How to install paving slabs?
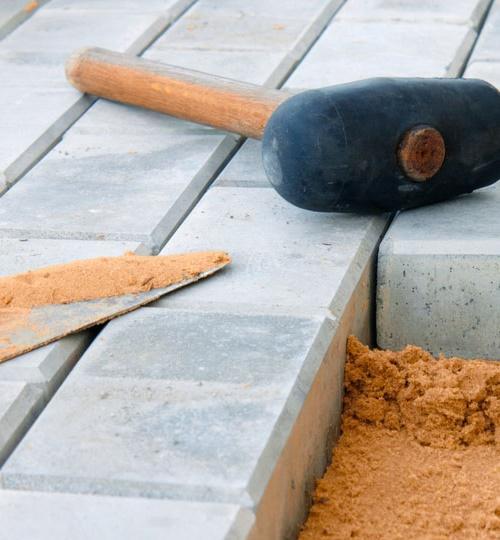
The tiles should be started to be laid away from you in order to move along the already finished path. You cannot walk on a leveled sand base. It is better to lay it diagonally - on flat paths, and from the center in a circle - on circular paths. The tile is installed on the base and fixed by knocking with a special rubber hammer. If it falls through, sand is added, if it protrudes too much, a little base is removed.
Styling can be both chaotic and artistic, with the creation of a pattern. Geometric shapes lined with multi-colored tiles also look beautiful.
There must be at least 2 mm gaps between the tiles - water will drain through them after rain. In addition, do not forget about drainage: laying on a concrete screed should be carried out at an angle or with the installation of special drainage pipes along the curb.
Grouting
 The final stage of laying the path is to seal the joints remaining between the tiles. To do this, the path is covered with fine sand and scattered with a brush. Another layer of sand is poured on top and again rubbed over the surface until all the gaps are filled. At the end, water the tiles abundantly.