How to grow garlic (it's very easy!)
 I've been planning to grow my garlic for a long time. And not only because I regularly use it in the kitchen. Fresh garlic can also be added to the diet of chickens, and whole cloves to the drinker. Therefore, there is not enough garlic all the time.
A few years ago, I finally tried to do what I had been putting off all the time, and I was so carried away by it that now I can no longer imagine my garden without garlic. It turns out to be pretty easy to grow. All you need to do is stick the cloves of garlic into the ground in the fall (5-6 weeks before the first frost in your climate zone) and whole heads will grow out of them in the spring.
One of the benefits of growing garlic is that insects and most animals such as deer, hares, and moles will not touch it.
Planting garlic

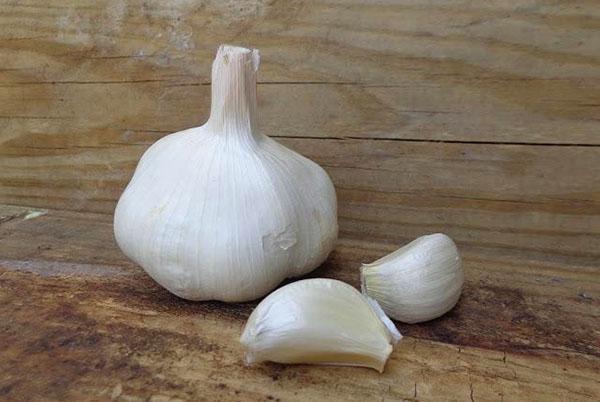
In principle, you can plant regular store bought garlic, but I would suggest looking for organic bulbs or locally grown garlic. This will help you make sure it is free of harmful pesticides and chemicals. Divide the head into separate slices and select the largest ones for planting. Do not remove the protective husk from the teeth.
Garlic prefers sunny locations and well-drained soil, so choose appropriate planting sites.
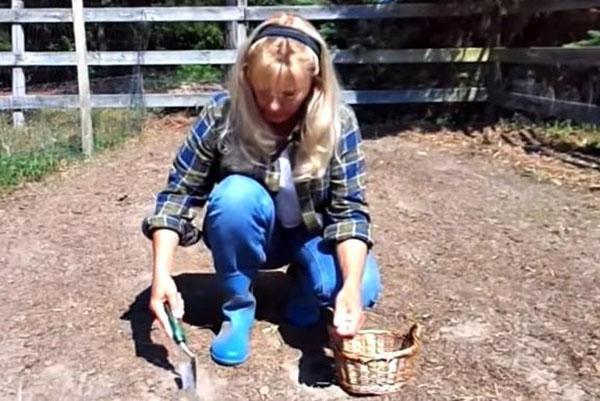
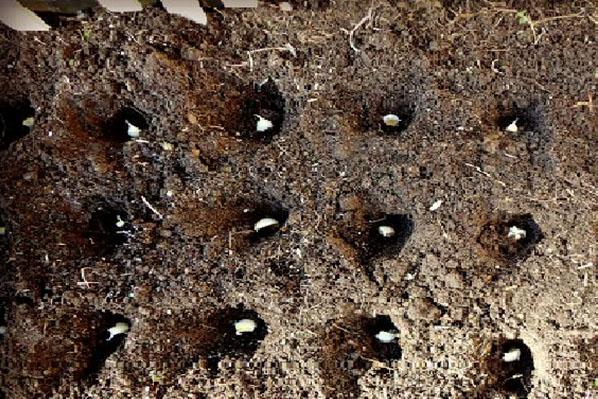
 Plant the garlic cloves with the pointed end up, 10-15 cm apart, so that the tops are about 5 cm below the soil surface. Garlic is an excellent natural fungicide and pesticide, so it repels aphids from tomatoes and roses. It is also a good companion for fruit trees, strawberry, cabbage and cauliflower, broccoli. With its pungent smell, garlic is not afraid of moles, hares and deer.
 You can mulch your freshly planted garlic with a layer of chopped straw, dry leaves, or hay - about 10 cm thick. Mulch will help maintain an even soil temperature throughout the winter, which in turn helps preserve roots, retain moisture, and protect against weeds.
 In the spring, when shoots begin to break through the soil, the remains of the mulch can be removed.
The "stems" that have appeared by the end of spring should be cut off. They grow from the center of the cloves and take up the energy needed to grow new bulbs.
 Don't throw them away! They are delicious when cut and tossed in a preheated cast iron skillet and then seasoned with a little olive oil, salt and pepper.
Harvesting
 The garlic is ready to harvest when its leaves turn yellowish brown and begin to fall. Use your hands or a small spatula to gently scoop up the bulbs.
 Gently shake off any dirt from the garlic, then let the bulbs dry in a well-ventilated, shady place for two weeks.
 You can braid the leaves or tie them into bunches to dry. Alternatively, you can simply trim off the roots and most of the stems and place the garlic on a drying rack or oven tray.
After a few weeks, when the shell is dry, you can trim off the tops completely and store the garlic bulbs in the pantry, or hang the woven onions in a cupboard and cut off one head at a time as needed.
Remember to save some of the largest cloves for fall planting to harvest in the spring.