When a shed roof is installed and features of its installation
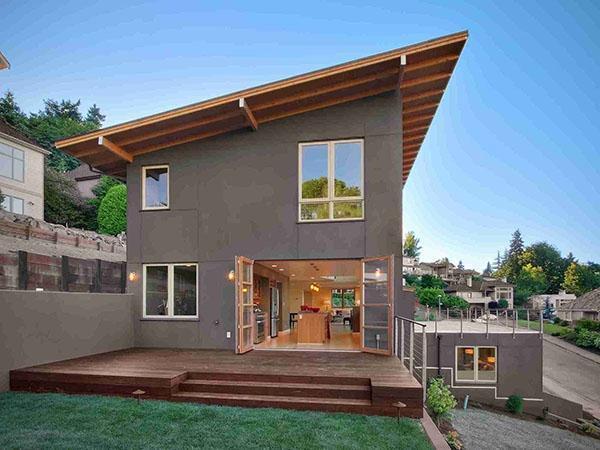
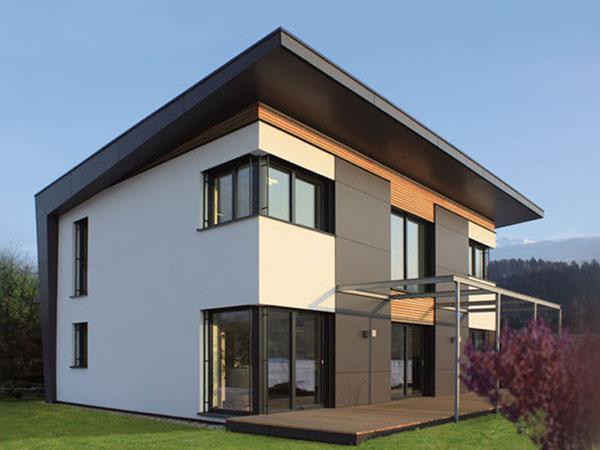
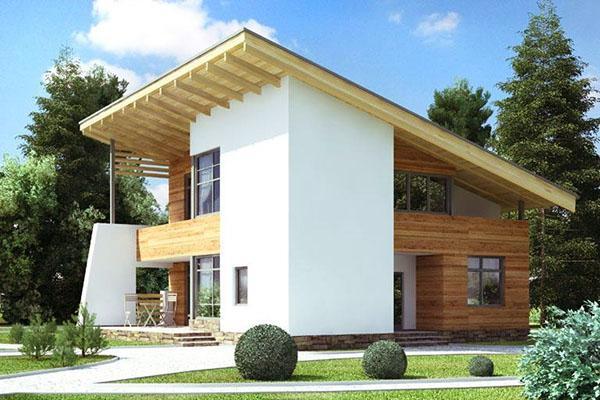
 Now developers have increasingly begun to build country houses with a pitched roof. Previously, it was installed in a barn, garage. A pitched roof has many advantages and a minimum of disadvantages. In addition to ease of installation, there are also features that are described below.
When installing a pitched roof: features
The single slope roof is easy to install. It is installed on:
- small garages;
- country baths and saunas, indoor pools;
- summer kitchens in private households;
- outbuildings;
- greenhouses.
The structures of such a project are mounted in summer cottages and private houses in areas with strong winds.
Features:
- simplicity of design;
- economy - less costs are spent on installation than on two-, four-slope structures;
- no special skills or knowledge are needed for the construction;
- saving time - following a step-by-step algorithm will save time.
A properly designed structure will protect the structure from gusty and strong winds. And also it makes it possible to correctly use the space under it (arrangement of the attic).
Roofing material is slate, metal, soft roofing products. Among all the advantages there is a special one - the absence of valleys. These are vulnerable spots for moisture ingress.
Despite the pros, there are also cons:
- if the building is not wide, then the attic is not equipped;
- there is no way to make good thermal insulation.
A single slope roof provides good wind protection in one direction. If the gusts change their direction, the whole structure is not reliable.
Types of pitched roofs

The single-slope arrangement is easy to manufacture, but the installation is carried out in different ways:
- the design is warm or cold;
- is there an attic room, attic or not;
- installation is done in different slopes.
Shed roof projects:
- Smooth - the slope is covered with slate or other material.

- Rounded - a design solution for country houses.

- Curved plane - will stand out among all the houses for its originality.

Smooth, flat look can be combined with other types of roofing. Basically, these are multi-level structures - broken, semicircular, a different number of slopes.
Differences in the type of ventilation:
- The ventilated structure should be with a slope of 50 and 200... And also between waterproofing and thermal insulation they make space for air flow.
- Tilt angle of non-ventilated type is less than 30 and 60... And also in the structure there is no air space between the layers of waterproofing and insulation. Basically, the non-ventilated version is mounted on terraces.
Depending on the type, various materials are used that are most suitable for all indicators. It depends on the weather conditions and the purpose of the building.
Shed roof device
 How to make a pitched roof, because it consists of elements that give reliability, strength, warmth, dryness.
For a non-insulated structure, the following layers are applicable:
- rafter system;
- lathing;
- covering (metal, slate);
- drainage system.
The device of a shed roof of the insulated type:
- rafters;
- waterproofing layer;
- insulation;
- vapor barrier;
- topcoat;
- drainage system.
Depending on the applied topcoat, a lattice is made for vapor barrier.
Rafter structure

The pitched roof structure includes a rafter structure. There are 3 options:
- Supports used. If the width of the building is 4.5 m, then additional racks are installed. This gives a load distribution over the entire area. The width of the building is 6.5 m, support beams are installed in the center. With this construction, the roof is solid.
- Without supports. Supports are not installed with a span of less than 4 meters. Mount inclined rafters with support - Mauerlat on the wall.
- Sliding option. The load goes to the strapping bar. The rafters are fixed to the walls with sliding fasteners. This is done to allow for building subsidence. Basically, this method is applied to wooden structures.

The device of the shed roof rafter system is produced in 2 ways:
- on buildings where the walls are erected with different heights;
- the main wall is raised and the top of the rafter leg is rested against it.
Supports are needed for the rafter leg. The number, step of fastening depends on:
- tilt in degrees;
- weight of 1 rafter leg;
- meters (centimeters) from the wall to the abutment of the roof;
- rafter length;
- topcoat;
- insulation.
Installation of rafters is an important event in which a clear calculation is required.
Single slope roof gutters
 The roof for 1 slope is erected at an angle. At the same time, the drain is made:
- organized;
- unorganized.
The system is produced outside. The gutters are installed from the bottom side towards the drain. All water is discharged into the drainage system.
Do-it-yourself shed roof, drawings and photos

For mounting with one slope you need tools:
- construction knife;
- hammer;
- stapler;
- saw.
 It also requires careful preparation for the work ahead.
You want to calculate the angle of inclination. It will affect the roofing material. For example, on a tile, slate, snow lingers on melting, but from the metal profile it will "move". The strength of the entire structure depends on how the roof retains precipitation.
Angle of inclination of the structure
 With a slight slope, the structure is strengthened, covered with roofing material. The angle of inclination of the pitched roof is 5-100... Slate use - angle 200, tile - 27-350... Consider the wind. If there are constant strong gusts, then the slope is made steeper, but if the structure is protected by trees, then the roof can be made flatter.
Calculate the distance between the supports. They create structural strength. The parameter is calculated based on the weight:
- roofing;
- rafters;
- hydro-, vapor barrier elements.
Step between rafters, depending on the length:
If there is (will be) a chimney, then the step is calculated taking into account it, so as not to install the system for the supports later.
Necessary materials

To erect a shed roof with your own hands, you need to calculate the amount of material:
- bars for props 12x12, 15x15 cm;
- bars for lathing 50x50 mm;
- floor board in the attic;
- vapor barrier;
- insulation;
- nails or other fasteners;
- waterproofing.
You can cover the structure:
- metal tiles;
- soft tiles;
- slate;
- professional flooring;
- tiles.
The tree should be treated with linseed oil or other antiseptic solution, dried.
Installation of a roof on one slope

Do-it-yourself shed roof step by step:
- Strapping with beams - installation of a Mauerlat.
- Installation of floor beams. Fastening the rails.
- Installation of rafters.
- Creation of the lathing.
- Installation of waterproofing, insulation, vapor barrier.
- Finish coating.
Mauerlat for a pitched roof
 This element is installed on a load-bearing wall or between floor beams. It is fastened with anchor bolts, which are installed during the construction of walls.
Depending on what the walls are erected from, fasteners are installed:
- wood - anchors;
- foam blocks - fittings;
- brick - annealed wire.
Before fixing wooden beams, you need to put a waterproofing layer.
Installation of the rafter system
 The rafter system is the basis of the structure being built. When mounting it, it is necessary to observe accurate calculations and evenness. Installation is carried out as follows: the beams are attached to the Mauerlat. The step is determined based on the roofing material (50-80 cm). fixation is made with anchors or slate nails.
For the strength of the structure, the angle of inclination must be observed. For this, the first and last beams are installed. A thread is pulled between them.
Installation of battens
 The shed roof lathing is the basic component of the entire structure, on which layers of waterproofing, insulation, vapor barrier are mounted. The laying step is important here. A wooden beam 50x50 mm is required. It is fixed perpendicular to the rafter leg. In this case, the rafter board extends 50 cm beyond the wall.
Also, the step of the lathing depends on the type of roof. Sheet - step 1.5 m, slate - 1 m step for lathing. If the roof is soft, then a continuous crate is made.
Roof insulation, waterproofing, vapor barrier
 To insulate the structure, protect it from leaks, for a long time, it is necessary to properly protect it.
Sequence of fixing layers:
- waterproofing element;
- laying insulation;
- vapor barrier layer.
Waterproofing and vapor barrier are overlapped. The joints are closed with adhesive tape. Fixation to the tree is made with a stapler.
Fixing roofing material
 Fixing the topcoat is the last of the basic steps in roofing. The roofing layer is fixed according to the instructions for use. And also in compliance with the styling features.
After fixing the topcoat, additional elements and drainage are mounted.
The single-pitched roof is available in various design options - semicircular, flat, with a different angle of inclination. Do-it-yourself installation of a shed roof is also different. But, in order to achieve strength, durability in all stages of work, one must observe evenness, prudence. No need to rush and make mistakes. The quality of the work performed will depend on this.