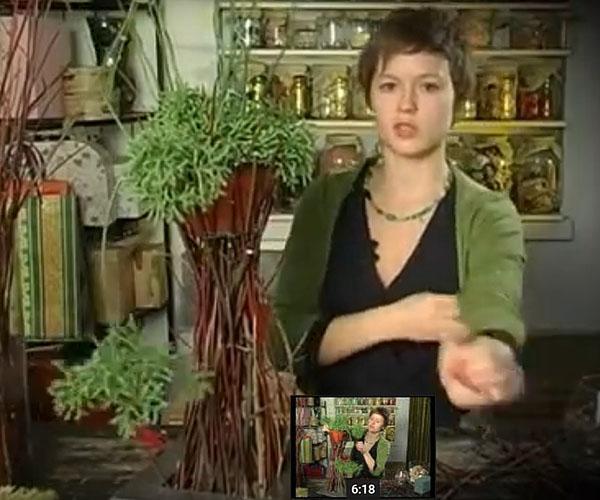
Original pots made of branches - do-it-yourself high stand made of natural materials
 Do you like to experiment, and plastic pots are no longer admirable? Make an unusual tall tree planter. It requires almost no material investments, because everything you need can be found while walking in the park or in your garden. The only thing that will need to be purchased is a base for a planter and an oasis for filling the bottom. However, an old flat flowerpot can also serve as a basis. But any ampelous flowers, and not only, will look unusual and original in such a planter.
An oasis is a porous floral sponge. You can securely fix flowers or any other material in it.
The oasis is of two types. A green sponge is intended for composing compositions of fresh flowers (it absorbs moisture and nourishes plants with it). The gray-brown sponge is used for artificial or dry plants (serves only for fixing, and does not hold water).
What needs to be prepared?
In order to make a pots, we need:
- base in the form of a flowerpot of any shape;
- oasis;
- fresh branches (thin);
- secateurs;
- wire;
- hot glue;
- moss;
- river pebbles.
If it is not possible to buy an oasis, it can be replaced with foam. Or fill the bottom of the pot with polyurethane foam. This, of course, is not a complete replacement, but it will also hold.
Flowerpots made of branches: step by step instructions for making
First of all, we make the base of the pots: we cut the oasis into pieces and close the bottom of the container with it. It is not necessary to press in by force, it is better to cut into small pieces and add. The main thing is that they adhere to each other as tightly as possible and do not fall out.
Now we start laying the branches:
- We choose the 3 strongest and thickest rods from the rods, cut them so that they are of the same length.
- We install the branches in three corners, sticking them into the oasis, and from above - we collect them together and firmly fix them with wire so that they do not fall apart. It turns out a kind of cone-shaped wigwam. For reliability, we coat each branch with hot glue.
- We also cut the rest of the twigs to approximately the same height and set them along the edge of the "wigwam", forming its walls. At the top, they must be collected in a pile and securely fastened with wire. In this case, another 15 cm of branch height should remain above the wire.
- When all the branches are installed, cut out the middle at the top of the resulting bundle - there will be a pot there. The extreme branches should remain - they will hold it. We try to cut evenly, at the same height, so that the flower stands evenly.
It remains to decorate our pots. We install a flowerpot with a flower in the groove that turned out after cutting. We cut the branches into short twigs (no more than 2 cm in length) and begin to cover all the bald spots at the top with them. It is necessary that the pot is not visible. Cover the remaining holes with moss from the inside. Add a little moss to the inside of the bottom of the planter.
In conclusion, we cover the oasis with river pebbles. If desired, decorative elements, also made of natural materials, can be glued to the pots. It can be wooden or filamentous balls, cones.