Features of breeding California worms at home
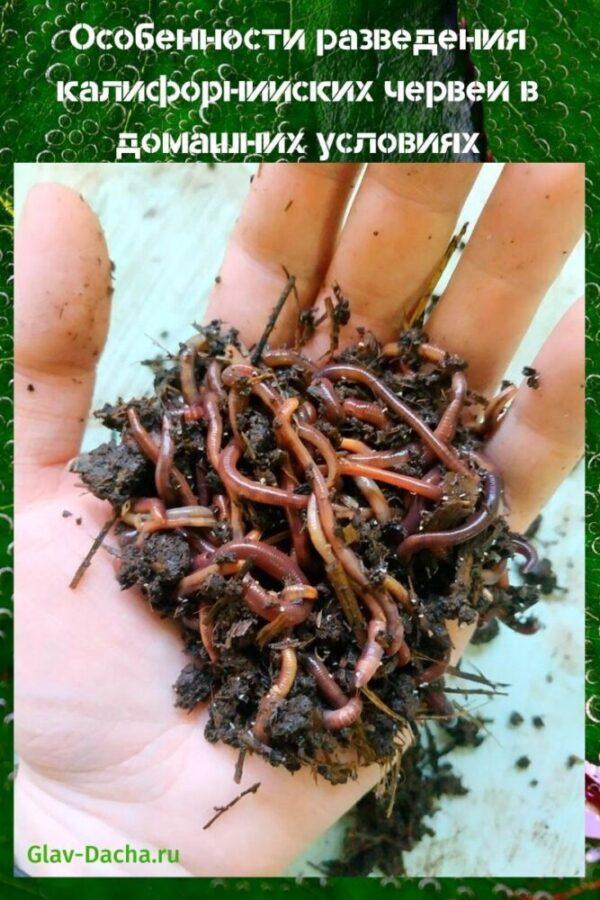
 California worms are a type of earthworms bred to obtain high-quality biohumus from organic matter. It is considered one of the best natural, environmentally friendly fertilizers. Californian red worms can be grown without much difficulty at home - in a personal subsidiary farm or in a summer cottage.
California worms - main features

This invertebrate species has several specific features.:
- body length reaches 8-10 cm, diameter up to 5 mm;
- the body weight of adult worms reaches 4-7 g;
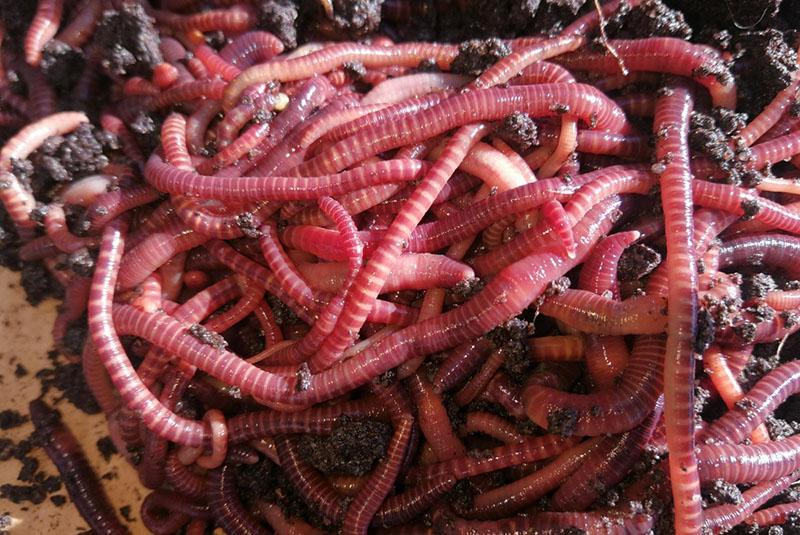
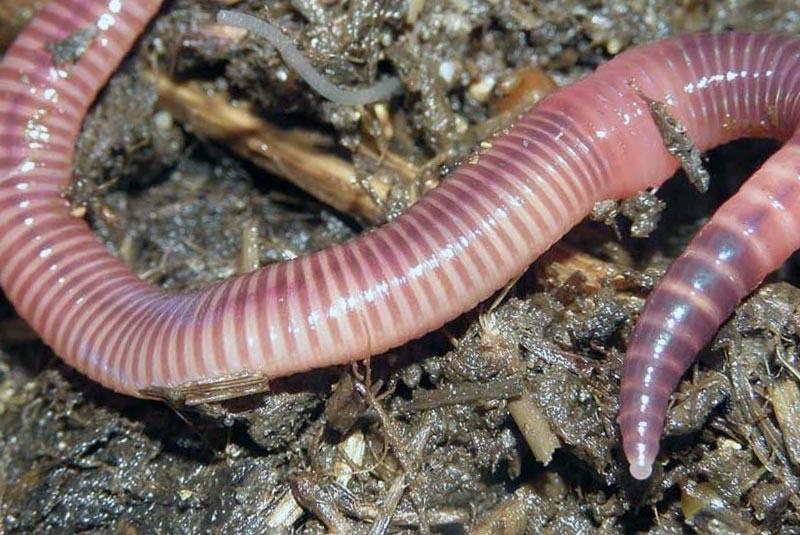
- color - from dark red to scarlet;
- the body is cylindrical, elongated, flattened on the side of the abdomen and consisting of more than 100 segments;
- the optimum temperature for keeping the worm is from +5 to + 40 ° С;
- life span is four times that of ordinary earthworms and reaches 14-16 years;
- is distinguished by extreme fertility and reproduction rate - up to 15-20 cocoons in one season;
- under favorable conditions, the colony can increase 400-500 times per year.
 California worms are very gluttonous - they consume more food than their own weight per day. Invertebrates pass food through the intestines, saturating it with useful substances - this is vermicompost.
The main difference between Californian earthworms and earthworms is that they produce high-quality and biologically active vermicompost in a short period of time.
Breeding California worms at home
 Before breeding useful invertebrates at home, you need to learn everything about Californian worms. Growing can be done both indoors (barn, basement) and outdoors. Each of these options has advantages and disadvantages.
Breeding invertebrates in the open air allows you to get a population of significant size, since the size of the area is much larger than the room. The disadvantage of this method is seasonality - the worms do not tolerate low air temperatures and die when the temperature falls. In addition, when placed in an open area, invertebrates can be attacked by rodents.
Growing indoors all year round is considered more convenient. All you need to know about breeding California worms - which substrate is best to use, how to properly populate and feed them.
Buying worms
 It is best to buy California worms for home breeding in specialized farms - this guarantees a quick receipt of high-quality and environmentally friendly humus. Invertebrates should not be purchased from private sellers - it is very likely that they were dug up in a nearby garden.
 In order for a colony to have genetic resistance, you need to immediately buy a large batch of invertebrates - at least 1000-1500 individuals. The selected population should contain both healthy, active worms and their cocoons.
Choice of substrate and location
 Caring for California worms at home begins with preparing a favorable breeding ground for them. For breeding in the fresh air are used compost heaps or pits. Indoors, you can use plastic containers, plastic or wooden boxes. You can also take a cardboard box lined with polyethylene from the inside.
Used as a substrate:
- peeling potatoes and other vegetables, as well as fruits;
- chicken droppings;
- rotted manure;
- rotting foliage;
- cut grass;
- carrion;
- food waste.
 If the waste has large fragments, it is advisable to chop them finely or pass through a meat grinder. California worms do not have teeth, so they cannot live in such a nutrient medium.
Leftovers of animal origin, fresh manure and citrus zest must not be added to compost bins and pits. California worms will not survive in such a substrate.
Breeding in compost pits
 To breed California worms, you need to prepare a pit with a tightly rammed bottom, the depth of which should be at least 70-120 cm.When growing in an open area, it is advisable to strengthen the bottom and walls of the pit with iron sheets, boards or pour concrete.
After preparation, it is necessary to fill in the soil with invertebrates into the pit - the first layer should be no more than 50 cm thick. The soil must be nutritious and soft. The substrate is poured over it. In the process of processing the soil with Californian worms, 10-20 cm of soil should be poured into the pit.
After the worms reach a height of 80-100 cm, they need to be transferred to another pit or temporary box and the vermicompost must be removed.
Breeding in crates and containers
 When grown indoors, containers and boxes made of plastic, wood, cardboard are used. At the bottom of the tanks, it is necessary to fill in a drainage layer, which is used as dry sand.
A box with holes made should be placed on top of the drainage, cover the fertile soil with a layer of up to 1-2 cm, then 4-6 cm of the nutrient substrate. If the soil is very acidic, you can add some crushed eggshells.
Next, the substrate should be watered abundantly and worms should be placed on its surface, covered with burlap or plastic wrap. The worms begin to process the soil from the bottom container. It needs to be removed, a new box with a substrate should be placed on top - the invertebrates gradually move into it. Biologically active vermicompost is taken out in this way, gradually changing the boxes.
Moisture support
 An important part of California red worm care is maintaining optimal moisture levels. As it dries, the nutrient substrate must be moistened. The optimum humidity level is 70-85%. High humidity should not be allowed - this will lead to the development of nematodes and biohumus will become unusable.
For watering the substrate, only clean, previously settled water is used. It is not recommended to use tap water, as it contains chlorine, heavy metal salts and other impurities.
The best option when growing Californian worms in a country house or garden plot would be to install a barrel or other large container to collect rainwater. Before irrigating the substrate, it must be defended for at least 3 days.
Feeding California worms
 When breeding beneficial invertebrates, consider how to feed Californian worms at home.
Various organic wastes are used to feed beneficial invertebrates:
- vegetable and fruit peel;
- sleeping coffee or tea brew;
- foliage and grass;
- tops of root crops and plant waste;
- spoiled cheese;
- moldy bread and bread crusts.
During the day, the Californian worm eats food, the amount of which is 2 times its own weight. In the diet of invertebrates, you can add their favorite food - rotten vegetables and plants, banana and potato peel, the remains of a variety of cereals.
 California worms should not be given large peelings of vegetables, large pieces of tops or food waste.They simply will not be able to process them, so such food must be pre-chopped - finely chopped or minced. Leftover meat is also prohibited.
During warmer months, California worms need to be fed every 10-14 days if grown in a large container and every 3-4 days if bred in a small box. During the winter months, the worms should be fed daily, in small portions.
 It should be borne in mind that these invertebrates quickly get used to their diet, it is extremely difficult to retrain them. If there is such a need, the diet change is carried out in stages. That is why the best option is to settle in the nutrient substrate not only adults, but also cocoons.
Breeding Californian worms is possible at home, both in the open garden plot and indoors. Breeding these beneficial invertebrates will not cause serious difficulties and will provide an opportunity to use high-quality, environmentally friendly biohumus for fertilizing garden plants.