Instructions: how to make a cellar in the country with your own hands step by step
 A cellar is an integral part of any suburban area. Many gardeners are interested in how to make a cellar in the country with their own hands step by step. It is indispensable for storing stock. The cellar, equipped according to all the rules, maintains the right temperature and suitable humidity, keeping the stocks intact. And such a structure can be made by hand.
Types of cellars

In total, there are 3 main cellar designs.:
- ground;
- semi-recessed;
- underground.
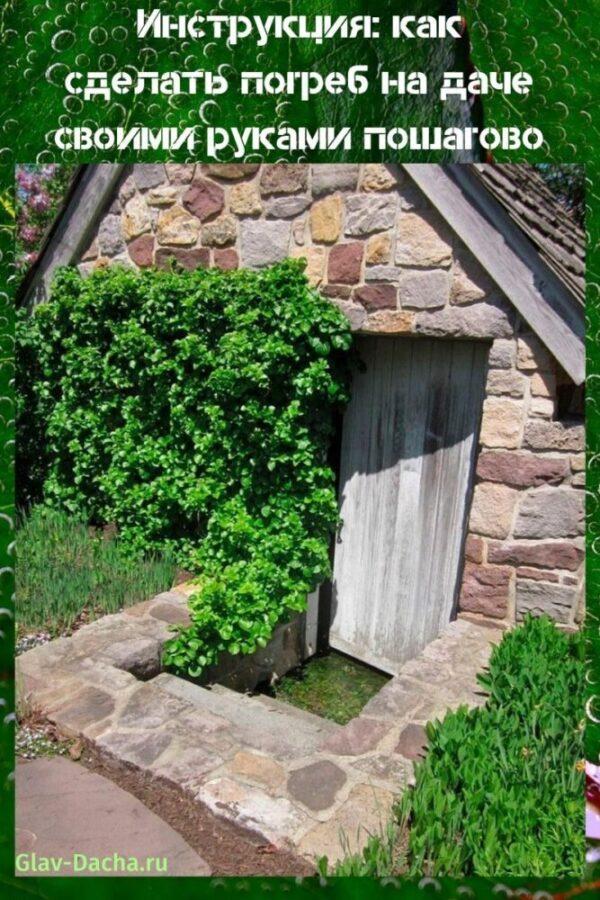
 The design is selected based on the geological features of the site. If the groundwater is high, then an above-ground or semi-buried structure is more suitable. And if the groundwater does not rise above 2-3 meters from the surface of the soil, then you can safely build an underground cellar with your own hands.
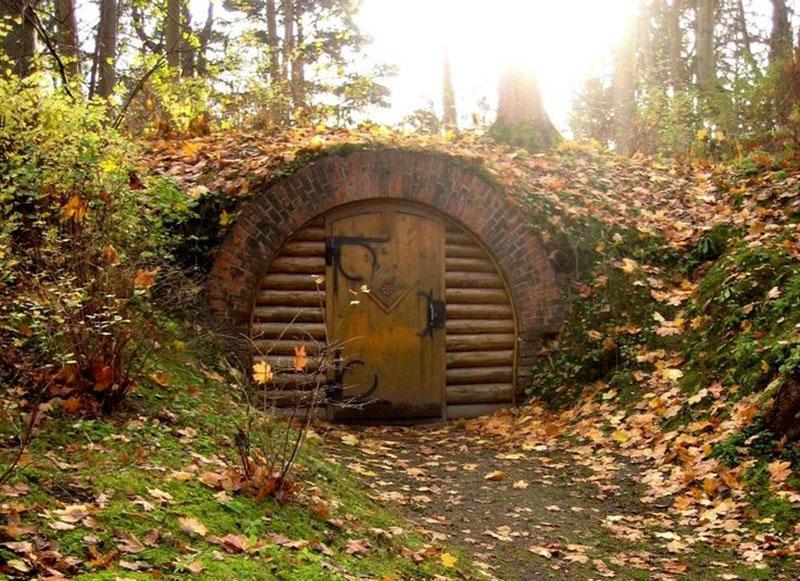
A fully recessed classic cellar design will provide the best temperature performance in such a room.
Seat selection
 A cellar is a complex engineering structure that has certain requirements described in SNiP 30-02-97. According to these standards, the cellar should be located no closer from the outbuildings than:
- 12 m from the toilet with a cesspool;
- 12 m from the barn with livestock;
- 8 m from compost heap;
- 8 m from the bath, sauna or summer shower.
If the site allows it to meet such standards, and there are options for choosing a location, then the highest place on the site should be chosen. This will maximize the removal of the structure from groundwater. It is also recommended to remove the cellar 7-8 meters from the residential building so that heat is not transferred to it through the ground from the residential building.
How to dig a pit when building a cellar in the country with your own hands step by step
 Having chosen a place, you can dig a pit. To understand the dimensions of the pit, you need to make an approximate drawing of the cellar. For a family of 3-4 people, as a rule, about 2 sq / m is enough. If the needs are greater, then the area can be increased to 4-8 sq / m. The height of an average cellar is usually taken about 2–2.5 m. For basic work, you can hire an excavator, and then clean the edges with a shovel. But if you have enough time and energy, you can also dig it manually.
This will require:
- bucket;
- pick;
- shovel.
When digging a pit, you need to understand that a distance of about 0.5 m will be left between the walls that will be erected and the soil on each side. This void will be covered with earth and compacted.
Cellar foundation
 Having dug and prepared the pit, you need to start foundation... It is better to use a monolithic concrete slab. When building a cellar in the country with your own hands, step by step, the labor costs for filling and the cost of materials will not be great. Such a foundation will be able to completely protect against moisture and dampness and will help to avoid alterations in the future.
A monolithic slab as a foundation has high strength characteristics. It is reliable for all types of soil. Having filled in such a slab, it will be much more convenient to lay the walls.
Filling needs to be done in several stages.:
- cover the bottom of the pit with sand with a layer of about 15 cm and compact it well;
- pour crushed stone on the sand;
- put a reinforcing mesh around the entire perimeter;
- pour cement mortar.
Filling is best done in dry and not very hot weather. In the scorching rays of the sun, at high temperatures, moisture from concrete quickly evaporates, and it can crack. If the temperature is too high, it is recommended to periodically spray the concrete with water from a watering can.
Cellar walls made of different materials
 When the foundation slab has finally "risen", you can proceed to the walls.
When choosing the material for the walls of a homemade cellar in the country, there are several options:
- Reinforced concrete blocks. The assembly of such walls is fast, but heavy equipment is required for delivery and installation.
- The monolithic concrete structure has good characteristics. The construction process is laborious to perform in such a small space, from the assembly of the formwork to the casting itself.

- Sand-lime brick is easy to use, but it absorbs moisture excessively, and is not recommended for laying in such conditions.
- Red brick is lightweight, easy to use, and has good moisture resistance.

It becomes clear that the best option is a red brick. Masonry does not require much experience, and the construction of such walls is available even to a beginner. Red brick is good at resisting moisture, which is extremely important in the presence of groundwater.
Reinforcement of masonry is a prerequisite. During off-season soil movements, significant pressure is exerted on brick walls. Reinforcing mesh will add additional strength to the structure.
Wall waterproofing
 When building a cellar in a dacha step-by-step with your own hands, it is recommended to do waterproofing in any case, even if the groundwater is deep. Seasonal rainfall can cause moisture to enter the cellar.
Waterproofing is done in two stages:
- All brickwork from the outside is coated with bituminous mastic, the mastic is applied with a brush. She needs to be given time to dry completely.
- Then, rolled material is fused onto the walls from the outside, this is Technonikol or its analogues. The working side of such a material is heated with a blowtorch, and it is glued to the brickwork.
Having made such waterproofing, you can be sure that the moisture resistance of the walls will be at a height.
Wall decoration from the inside

Depending on the wishes of the owner, there are several ways to decorate the walls, which have their own advantages and disadvantages:
- Covering with moisture resistant plaster is a good and relatively inexpensive method.
- Whitewashing with slaked lime is an inexpensive method, and slaked lime has antifungal properties.
- Plastic panels - they look good visually, but moisture can accumulate between them and the wall, and mold will appear.
- Ceramic tiles are the best coating, but at the most expensive price, not everyone will want to use it for facing the cellar.
Floor construction
 The overlap is performed according to the standard floor slab rules. On the upper crown of the brickwork, transverse logs from a bar of 100 * 100 mm are mounted. They are attached to the brick with metal corners. Boards are laid on the transverse logs, and attached to the logs with self-tapping screws.
To additionally protect the tree from moisture, paint it with any waterproof paint. And in places where wooden logs are in contact with brickwork, roll waterproofing is placed.
 During the construction of the floor, it is necessary to provide a ventilation device. It is necessary to maintain the humidity regime and to remove harmful gases that accumulate in the underground room. For ventilation, two metal or plastic pipes with a diameter of about 150 mm are suitable. They are spread on different sides of the room so that air can circulate freely inside and outside the room.
Overlap insulation
 A wide variety of heaters are now on sale. Everyone chooses for himself. Almost all heaters have high thermal insulation performance.
For insulation of the ceiling in the cellar, they are suitable:
- various types of mineral wool - glass wool, stone wool, slag wool;
- foamed insulation - expanded polystyrene, polyurethane foam;
- loose insulation - expanded clay, foam crumbs, perlite.
Superstructure over the cellar
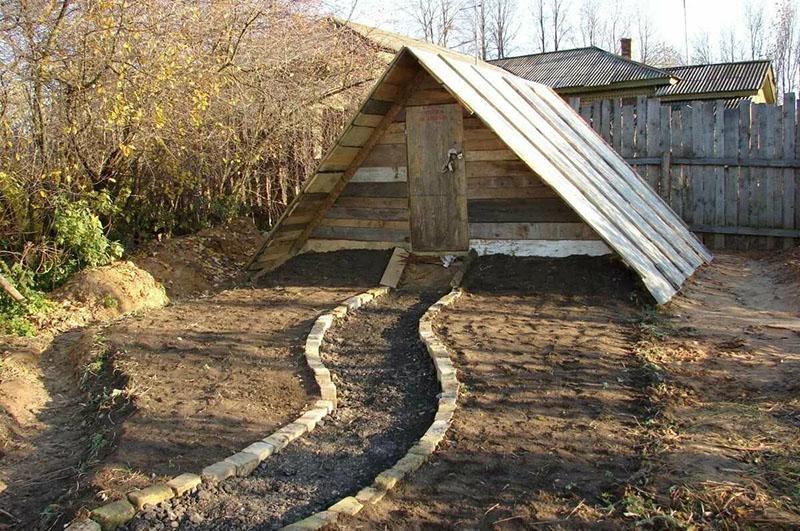
 In order to prevent the year-round cellar from overheating in summer and freezing in winter, it is recommended to build a small superstructure over it. It will protect against precipitation and help maintain the desired microclimate in the cellar itself. Such a superstructure can be made in the form of a gable roof.
You can assemble it according to the same principle as a gable roof of a house. That is, you need to install several rafters, and sheathe them with boards. The roof of such a superstructure can be sheathed with profiled metal sheet, which is so popular for roofing roofs. And you can save money and cover the roof with roofing felt.
From the inside, you can insulate such a superstructure with sheets of expanded polystyrene or mineral wool. Then the interior will keep cool in summer and warm in winter. And the cellar itself will not be exposed to a sharp temperature drop when the weather changes, and will be protected from external precipitation.
Doors and stairs
 The cellar requires 2 doors: one at the entrance to the superstructure, the other into the cellar itself. You can buy them ready-made or make simple doors yourself. For manufacturing, you will need boards and 3 beams. The boards are laid out on the floor in a common structure and connected by 3 bars in the form of the letter Z.
Cellar stairs can be of completely different designs.:
- stationary - made of wood, iron, concrete or brick;
- attached - made of wood or iron;
- retractable;
- folding.
 Any fixed staircase, especially made of concrete or brick, takes up a lot of space. If the cellar has impressive dimensions and allows you to install such a structure, then such a staircase will be the most convenient. But such stairs are not suitable for a small cellar.
  If the size of the cellar is small, an ordinary wooden ladder would be the best option. For reliability, it can be fixed at the top and bottom point.
Cellar lighting
 When building a cellar in a summer cottage with your own hands, special requirements are imposed on electricity. This is a room with high humidity. And given the nature of the underground location, the possibility of leaks from atmospheric precipitation cannot be ruled out.
From a 220 V source (in a residential building or an outbuilding), the electrical wire is mounted on the superstructure of the cellar and wound up inside. And already from the superstructure it is led down into the cellar itself. In total, 2 lamps are installed, in the underground and above-ground parts. It is better to put the switch in the superstructure at the entrance, and connect it so that both lamps turn on at once.
The wire for the installation of electricity must be used with double insulation.
The installation of the cable inside the cellar is carried out in a corrugated pipe. It is better to connect all connections through the terminals so that the connection in high humidity conditions is reliable.
 To understand how to properly build a cellar in the country, you need to study two important issues: waterproofing and ventilation. These are expense items that cannot be saved on. Increased moisture, mold, cellar flooding are real events that can happen if waterproofing and ventilation are neglected. Therefore, a competent approach in these matters will help to avoid all this and to use the cellar for its intended purpose without problems.