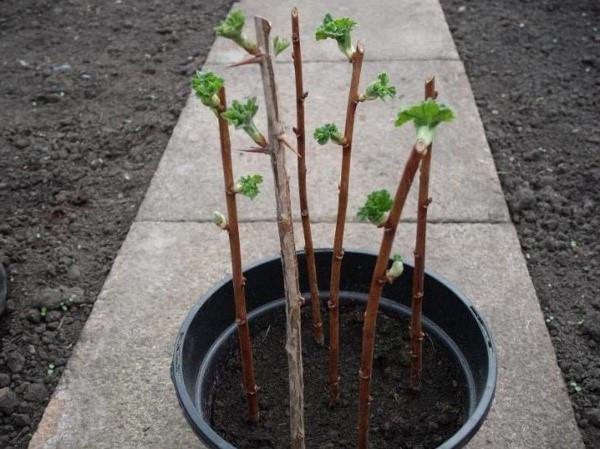
Reproduction of yoshta in a vegetative way: how to quickly get new plants
 If there is one yoshta bush in your garden, but it is not enough for you, in a short time you can get a lot of seedlings by rooting cuttings. Vegetative propagation of yoshta by this method gives good results. Even novice gardeners can prepare cuttings, and this can be done both in autumn and summer. Chubuki quickly grow roots, develop well, and next season you will have a whole yoshty nursery. Let's take a closer look at how to do it correctly, because each method has its own little nuances.
Reproduction of yoshta by autumn cuttings
In order for the cuttings to take root before the onset of frost and cold snap, start harvesting in early autumn. In this case, planting is carried out immediately, on the day of cutting the shoots.
For autumn cuttings, only lignified matured shoots are used.
The branches are cut into shafts up to 20 cm long, making the bottom cut at an angle. Each stalk must have at least 5 live buds. The disembarkation is carried out immediately into the open ground, but not to a permanent place, but to a school. The bed is dug up, leveled and the shanks are planted at an angle of 45 °, keeping a distance of at least 15 cm between them.If there are several beds, you need to leave row spacings about 60 cm wide.At the same time, 3 upper buds remain above the ground (one at ground level).
If the harvesting of the cuttings was carried out late, and it was not possible to plant them, you can root the yoshta in the sand. In this case, the seedlings will winter in the cellar.
Features of summer yoshta cuttings
In early summer, when the bush flaunts an abundance of young shoots, they represent an excellent opportunity to propagate yoshta by cuttings:
- Young juicy twigs are cut into short segments, no more than 15 cm in length.
- All leaves are cut off, except for the top pair.
- The lower cut is cut.
- Soaked in a growth promoter, although not required.
- A small temporary greenhouse is being built in the shade of trees.
- Cuttings are planted under the shelter, setting them at an angle.
- Sprinkle plantings with a thin layer of river sand.
Caring for plants at this stage is simple: to water, not allowing the soil to dry out, otherwise the cuttings will die. Once the seedlings have taken root, the shelter can be disassembled. And when the plants begin to actively acquire new leaves, they can be planted for growing in more spacious conditions.
Thus, both autumn and summer reproduction of yoshta by cuttings is one of the fastest and most affordable ways to replenish the garden with new plants.