Installation of handrails on the stairs: stages and nuances

Staircase railings perform both decorative and protective functions, therefore, it is recommended to treat their installation as responsibly as to fastening steps. The handrail is installed on the stairs in accordance with a number of safety requirements. And as a material for them, they usually choose wood or metal - the choice that affects the installation features depends on the design of the steps and the style of the interior in the room.
Basic requirements for installation

Regardless of the selected material of the fence, the height and angle of inclination of the staircase, certain requirements are imposed on the railings:
- the recommended height above the steps is within 90-100 cm;
- to increase the reliability of the structure, the supports are attached both to the stairs and to the handrail, which, in turn, rests on the extreme pillars;
- safety is the main goal, for which railings are needed, therefore, their surface is made comfortable and smooth, but at the same time not slippery.
Railings can be mounted both on balusters and on the surface of the walls. However, the presence of a wall structure does not preclude the installation of a fence along the edge of the stairs. The minimum weight for which the handrail must be designed is 100 kg.
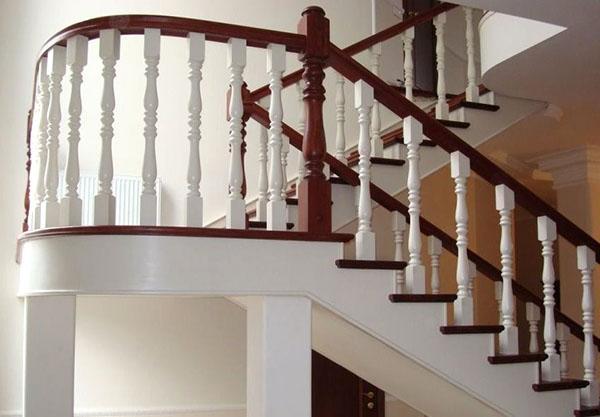
Wooden fences

Affordable price, lightness and high aesthetic characteristics make wood one of the most popular materials for stairs and fences. Although, due to its relatively low strength, the installation of wooden railings should be approached with utmost care, avoiding chips, scratches and cracks. First of all, it concerns pine trees, soft, but at the expense of budgetary cost, often used for the manufacture of internal fences.
Railings are installed using three types of fasteners:
- galvanized self-tapping screws;
- shkants;
- galvanized studs.
It is not recommended to use nails for the installation of the fence. The rod of this fastener is too smooth and will not cling to wood. After the wood shrinks during operation, the nail joints loosen, the railings begin to creak and become not so safe.
Only galvanized parts should be used to fasten the railing to the floor. Unlike simple metal fasteners, they are protected from moisture, sudden changes in temperature and corrosion.
Installation of handrails on the stairs with self-tapping screws

The simplest installation options for stair balusters and poles include self-tapping screws. They are screwed into the inside of the staircase so that the fasteners protrude slightly above the surface. Holes of the appropriate diameter are drilled in the balusters. During installation, the supports are screwed in until they stop.

It is allowed to use bolts as fasteners for the railings. The fastening principle is quite simple - a nut is installed into the baluster, screwing a fastener of a suitable diameter into it. Both methods, with screws and screws, are considered to be quite reliable and effective.

Using dowels

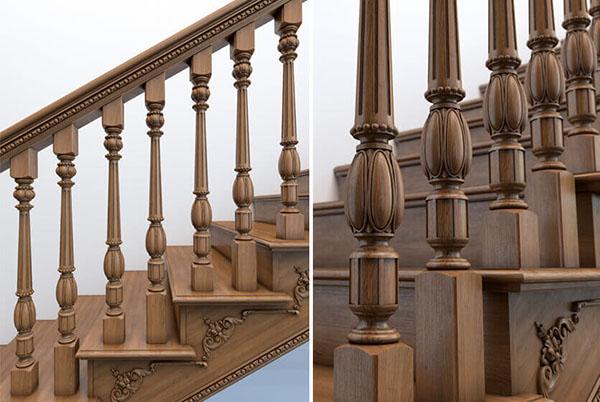
To install a post or baluster, you can use dowels - special wooden cylinders. For them, holes are drilled in the end parts of the uprights, steps, bowstrings or kosoura. The depth is half the length of the cylinder. It is important that the holes are on the same axis and with the same diameter. During installation, the part sits on glue, which provides an almost monolithic connection.
The advantages of the method include high strength and relatively affordable cost. At the same time, they should not be used when installing insufficiently thick balusters and racks.
The recommended minimum support thickness is at least 6 cm.
Mounting on studs

Popular methods of installing handrails on stairs include installing them using galvanized studs. The part goes through the step, continuing in the stringer. The advantages of this option are considered the possibility of a deeper entry of the fasteners into the surface of the parts to be joined, and, therefore, increased reliability.

The disadvantage of the technique is the need to maintain high accuracy. The holes for the studs should be drilled exactly along the axes of the balusters, securing drill and sliding the stand onto the drill. When installing the support on the bowstring, the hairpin is placed strictly vertically.
Handrail fastening

The final stage in the installation of wooden fences is to attach the handrail to the baluster.
The installation can be divided into the following stages:
- Grinding a groove in the handrail that repeats the top cut of the balusters.
- Preparation of the rail (under-rail), the width of which must match the dimensions of the bottom groove of the rail.
- Sawing a decorative strip with the same width as the upper groove.
- Fastening the rail to the balusters to trim their tops in accordance with the slope of the structure.
- Mounting the sub-sill on the supporting part of the racks using self-tapping screws.
- Trimming handrail to remove gaps between handrails and supports.
- Fixing the structure to the rail using self-tapping screws or glue.

Railings for wooden stairs are usually also made of wood. All parts are primed and painted before assembly; therefore, after installing the railing, it remains only to mask the gaps with a thickness of 1 to 1.5 mm. The slots are filled with acrylic sealant or carpentry paste.
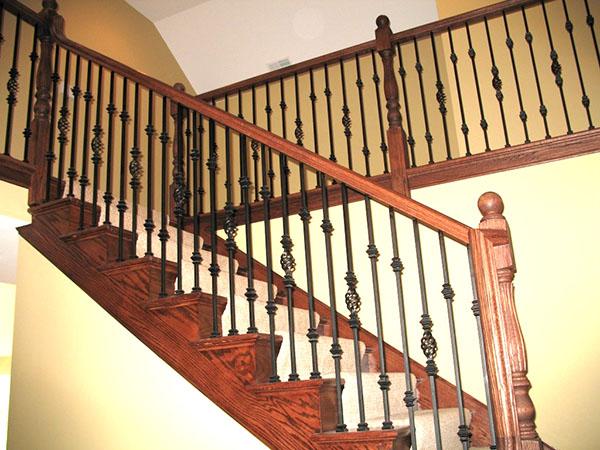
Metal railings
For metal structures, the classic version of installing the railing on the staircase is often chosen, providing only vertical supports and railing. The choice of filling with crossbars provides for the installation of horizontal metal rods between the balusters. You can also choose the option with solid panels, when there are wide sheets of metal or glass between the supports.
As a material for metal posts, usually aluminum or steel is chosen.
Aluminum structures

Aluminum is considered the easiest to install, lightweight and at the same time quite strong metal.
Choosing it, you can install the railings on the stairs with your own hands as follows:
- Places for the installation of pillars and balusters are marked. At the designated points, holes are drilled 10 cm deep and 18 mm in diameter.
- The holes are filled with two-component glue, and anchors are installed in them.
- The fasteners are fixed on which the baluster racks are installed.
- A flange is mounted, which acts as an additional fastening to the structure.
- Swivel joints are installed at the top of the racks.
At the final stage, the railing is placed on the hinges and is adjustable in height. Self-tapping screws are used to connect the handrail to the rack. In the presence of several flights, the railing is connected by turning elements of 90 and 135 degrees.
Steel railings

The assembly of steel structures is carried out by installing racks on the upper and lower steps. The holes for mounting the supports are drilled, retreating from the edge by 3.5-5 cm, avoiding the appearance of cracks and chips. The next step is to install the rest of the racks. Depending on the chosen design and the number of spans, the handrails end with plugs or bends.
There is another way to install stainless steel railings on the stairs. First, a structure is assembled from balusters and a handrail. Then the already assembled railing is screwed to the steps. The gaps between the supports can be filled with rods or forged parts.
Handrails against the wall

Sometimes the handrail is attached not to balusters, but to enclosing structures.In this case, it more performs a decorative function, but with a sufficiently large staircase width, it also provides safety.
The way how to attach a railing to a wall involves the following steps:
- Marking of places for mounting fasteners. There should be no more than 150-200 mm between them. The distance from the wall to the railing is from 50 to 250 mm. The angle of inclination coincides with the slope of the stairs.
- The choice of fasteners for handrails to the wall and installation method. One-piece structures are the most difficult to install. If the mountings and handrails are located separately, the installation process is simplified.
- Drilling holes for installing fasteners.
- Fixing the handrail bracket to the wall with dowels.
At the last stage, the metal handrail is attached to the holders with screws and screws. After that, you can check its reliability and consider the work finished. For the one-piece version, the railing is ready to use as soon as the brackets are attached.
Knowing the features of the installation of railings made of wood or metal, they can be installed on their own, without contacting specialists. With experience and the right tool, you can do without outside help when attaching handrails to posts, and when installing handrails on walls. It is important to select the right material and comply with all installation requirements, including allowable distances and work steps. Correct installation of the handrails results in a robust design that increases safety and enhances the aesthetic characteristics of the room.